Enjoy this premium feature by subscribing to Markup Pro: learn more here!
Adding a Watermark
1. Open a PDF file.
2. Tap the three dots at the top-right corner of the screen, go to the "Actions" tab, and click "Add Watermark."

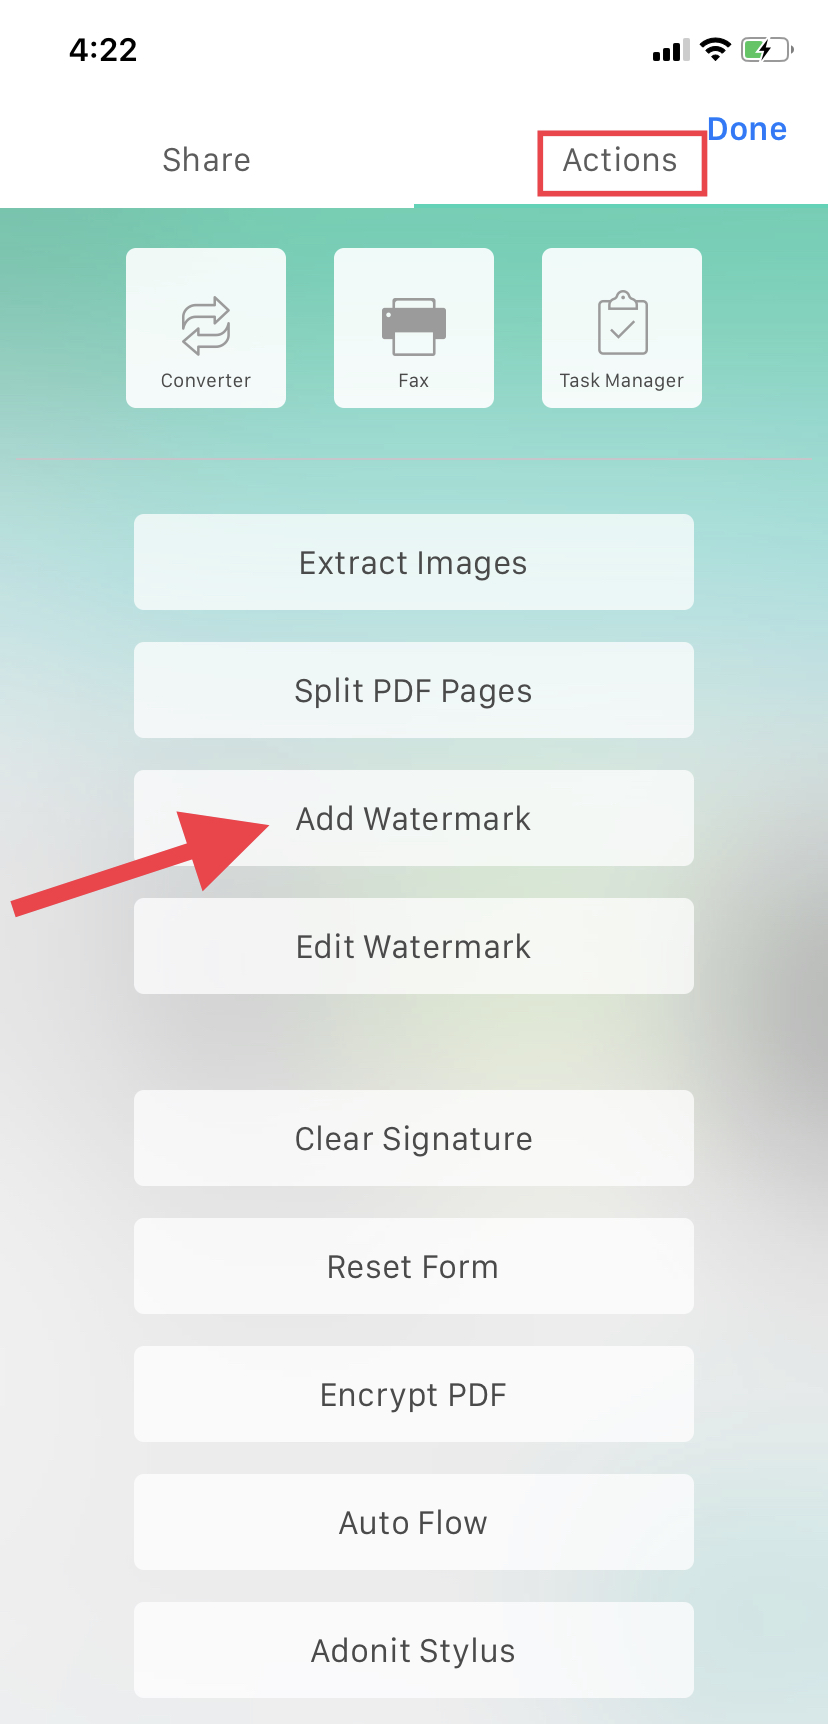
3. There are two types of watermarks to choose from – Text and Image.
Text Watermarks
1. Make sure you're in the "Text" watermark tab.
2. Adjust page range (which pages do you want the watermark on?), opacity, text, and color of the watermark.

3. Tap “Done” after editing the text to add the watermark to the document.
Image Watermarks
1. Make sure you're in the "Image" watermark tab.
2. Adjust page range (which pages do you want the watermark on?), opacity, and select an image from your camera roll.

2. Tap “Done” after editing your watermark to add it to the document.
Editing a Watermark
1. Open a PDF file.
2. Tap the three dots at the top-right corner of the screen, go to the "Actions" tab, and click "Edit Watermark."
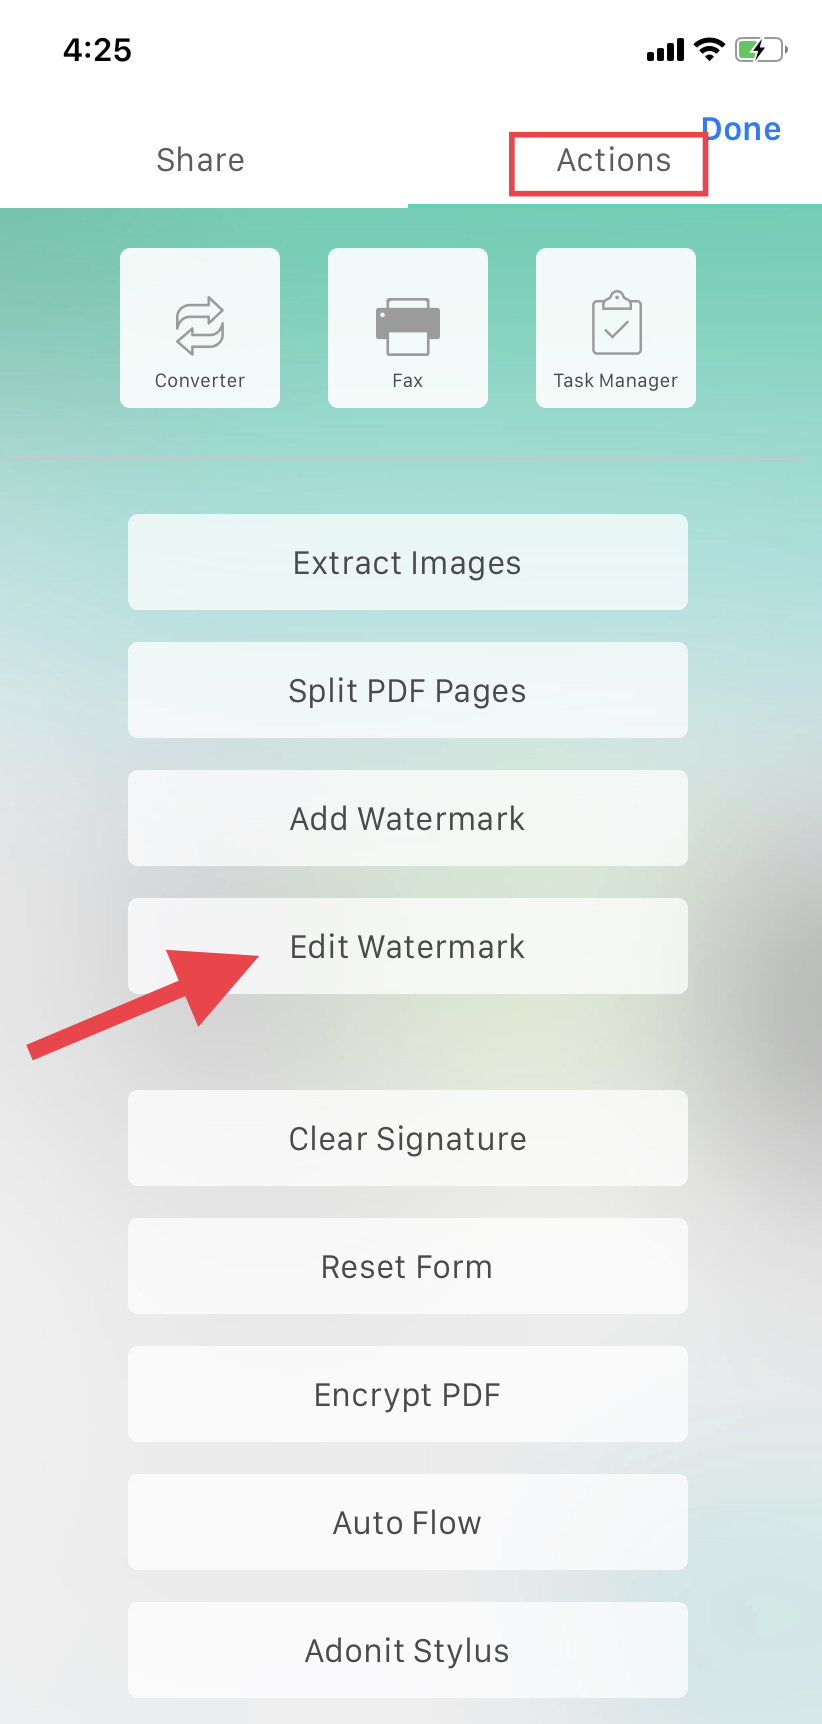
3. Click "Edit Watermark" to open editing settings. Click "Done" when finished. To delete a watermark, click the "Delete" button in the top left corner of the pop-up menu.

Comments
0 comments
Please sign in to leave a comment.