As the saying goes, a picture is worth a thousand words. With Markup, easily attach images from your gallery straight into your articles or files. Read on to learn more!
1. Tap " " from the side menu bar on the right of the screen.
Alternatively, press and hold anywhere on the document to see the pop-up menu. Click "Image." (If using this method, skip step 2a and refer to step 2b.)

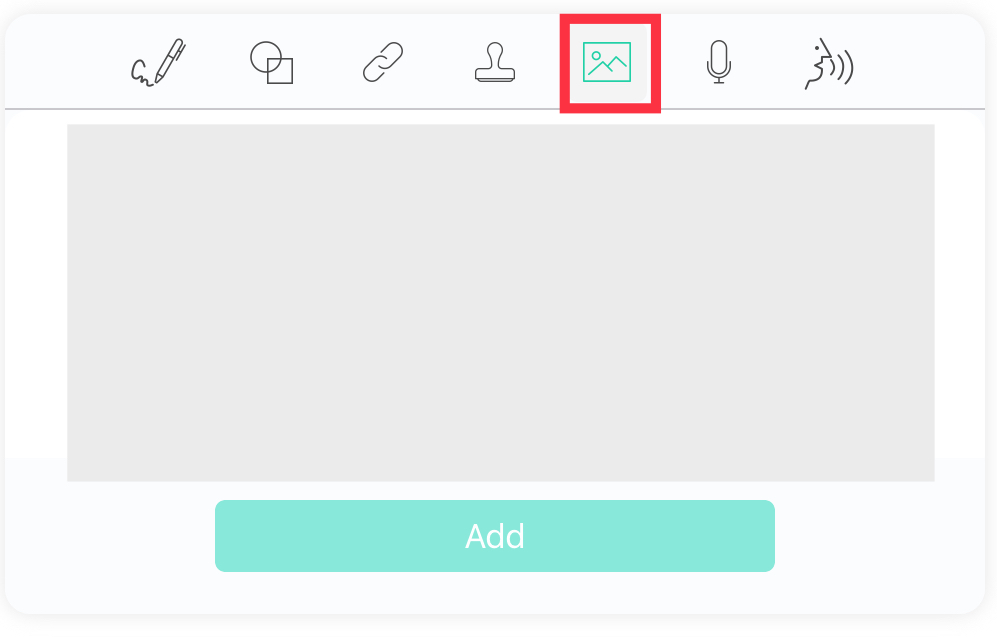
2a. You will see a pop-up menu; select the "Image" icon tab and choose an image from your gallery to add to the document. Click "Add."
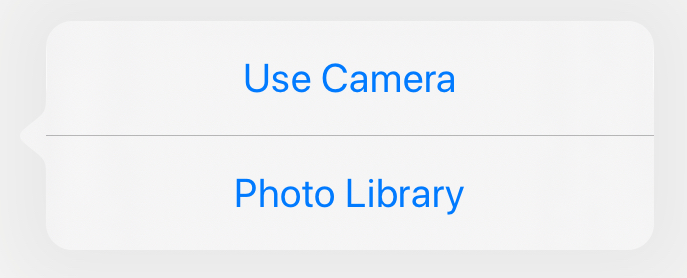
2b. If using the alternative method, you will be able to choose if you would like to insert an image from Camera or Photo Library. Select the one you would like.
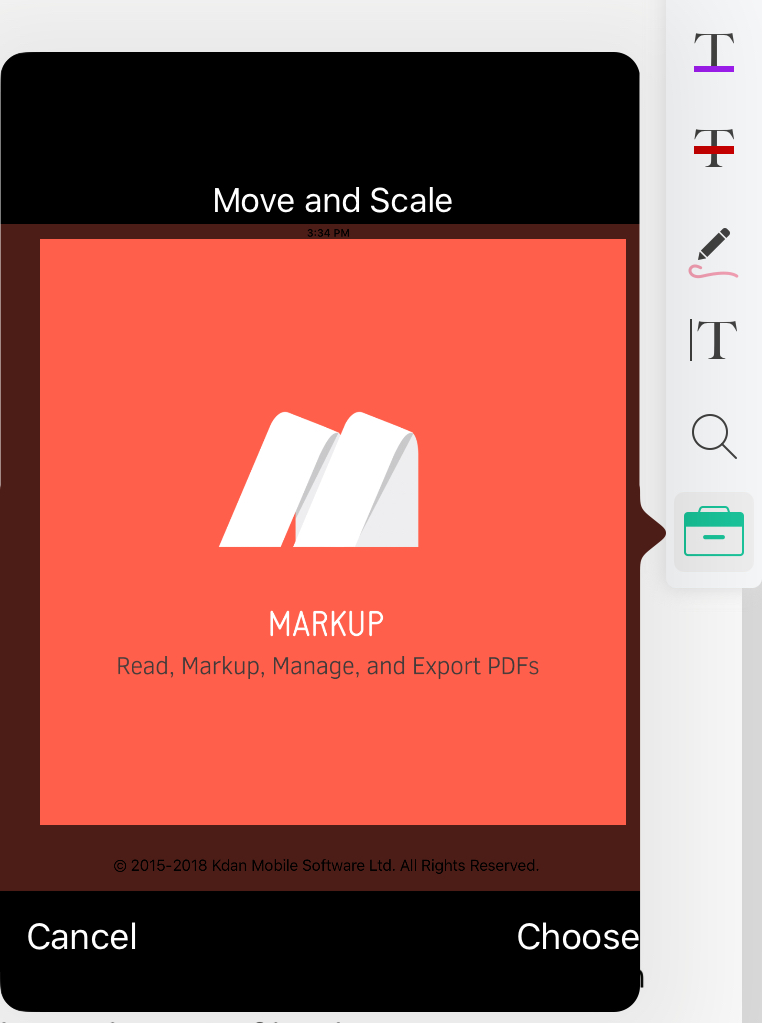
3. You will then have the option to move and scale/crop the image to your liking. After doing so, click "Choose."
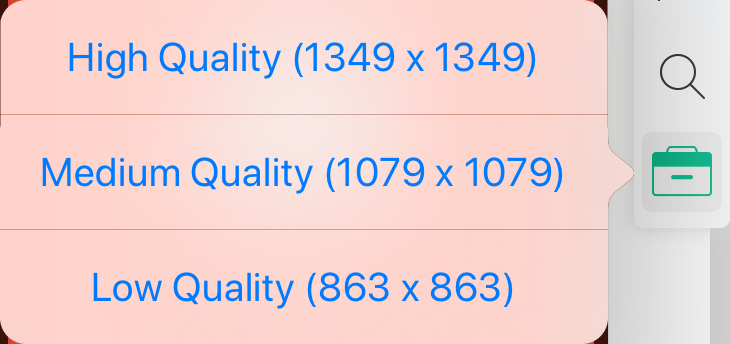
4. A box may pop up regarding quality of the image. Click the image quality you would like to attach.
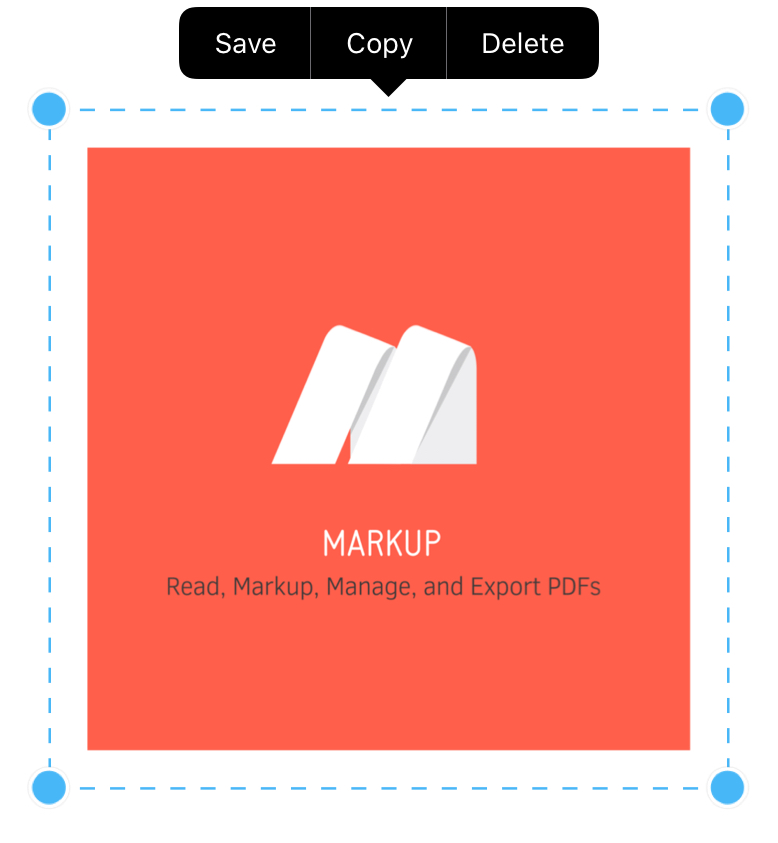
5. Click the place on your document where you would like to place the image. You can also "Save, Copy, or Delete" the image by tapping on it.
Enjoy this premium feature by subscribing to Markup Pro: learn more here!
Updated
Comments
0 comments
Please sign in to leave a comment.