Result

Settings
01. Select the watercolor brush category.
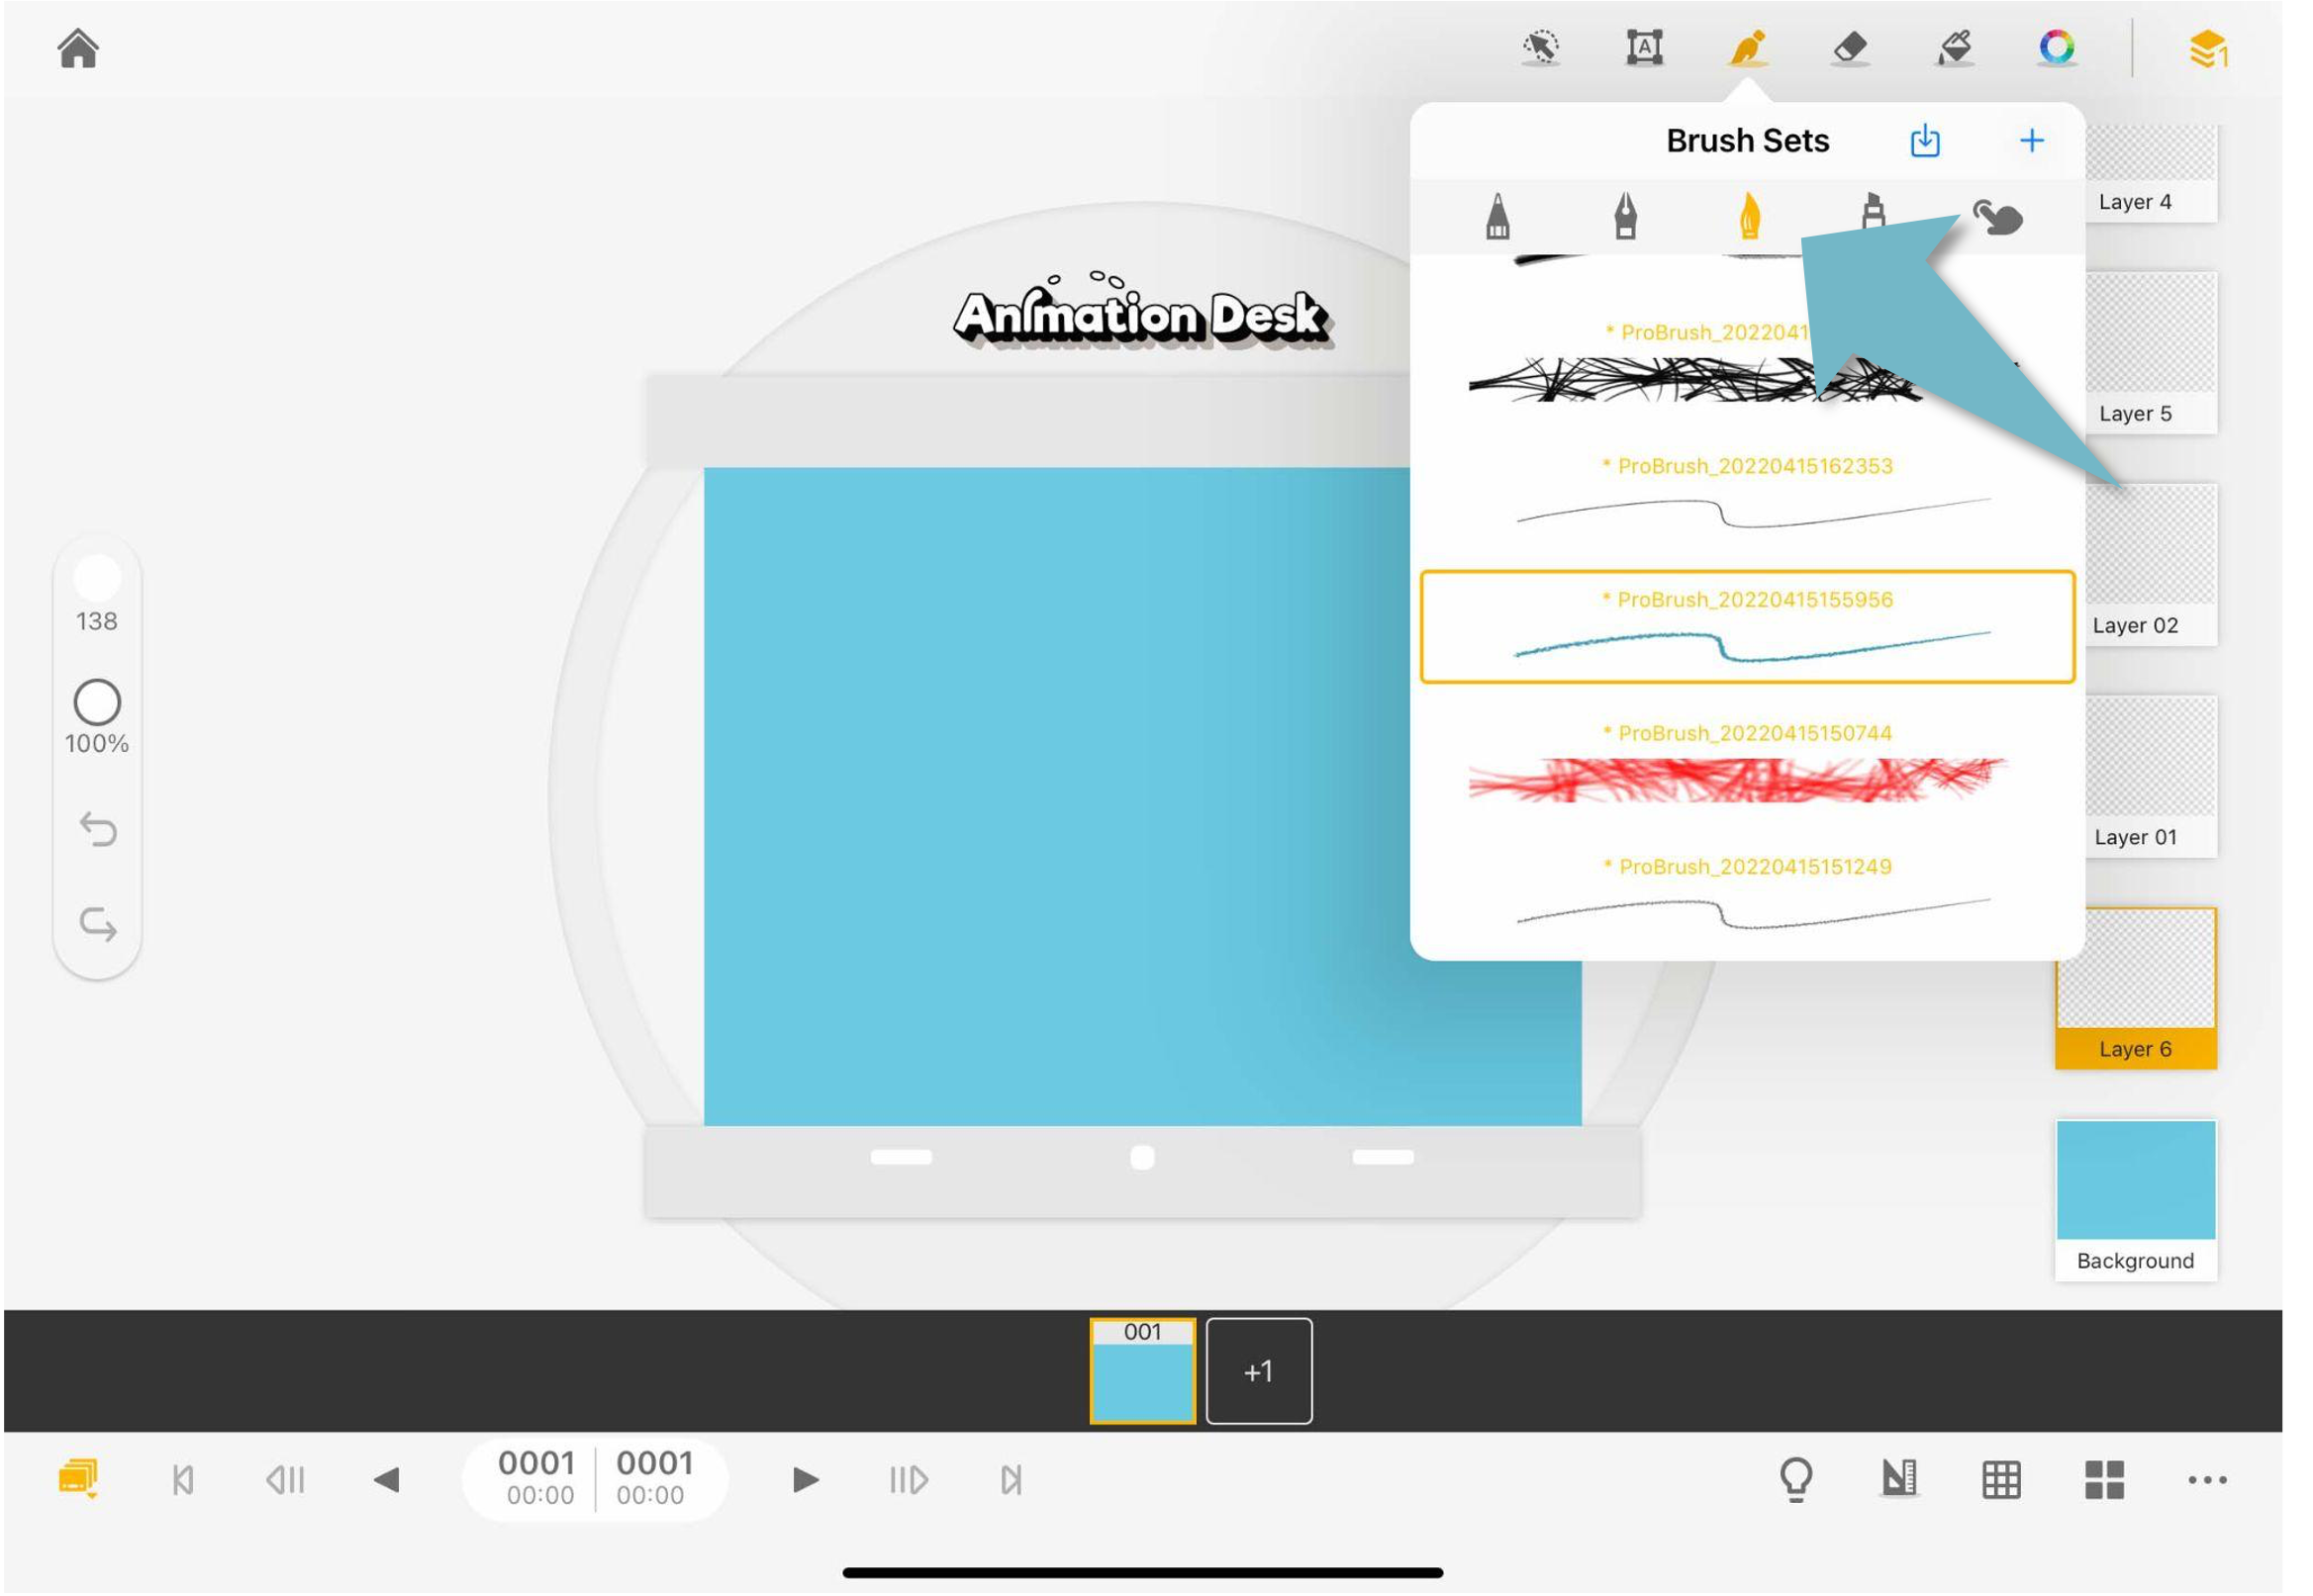
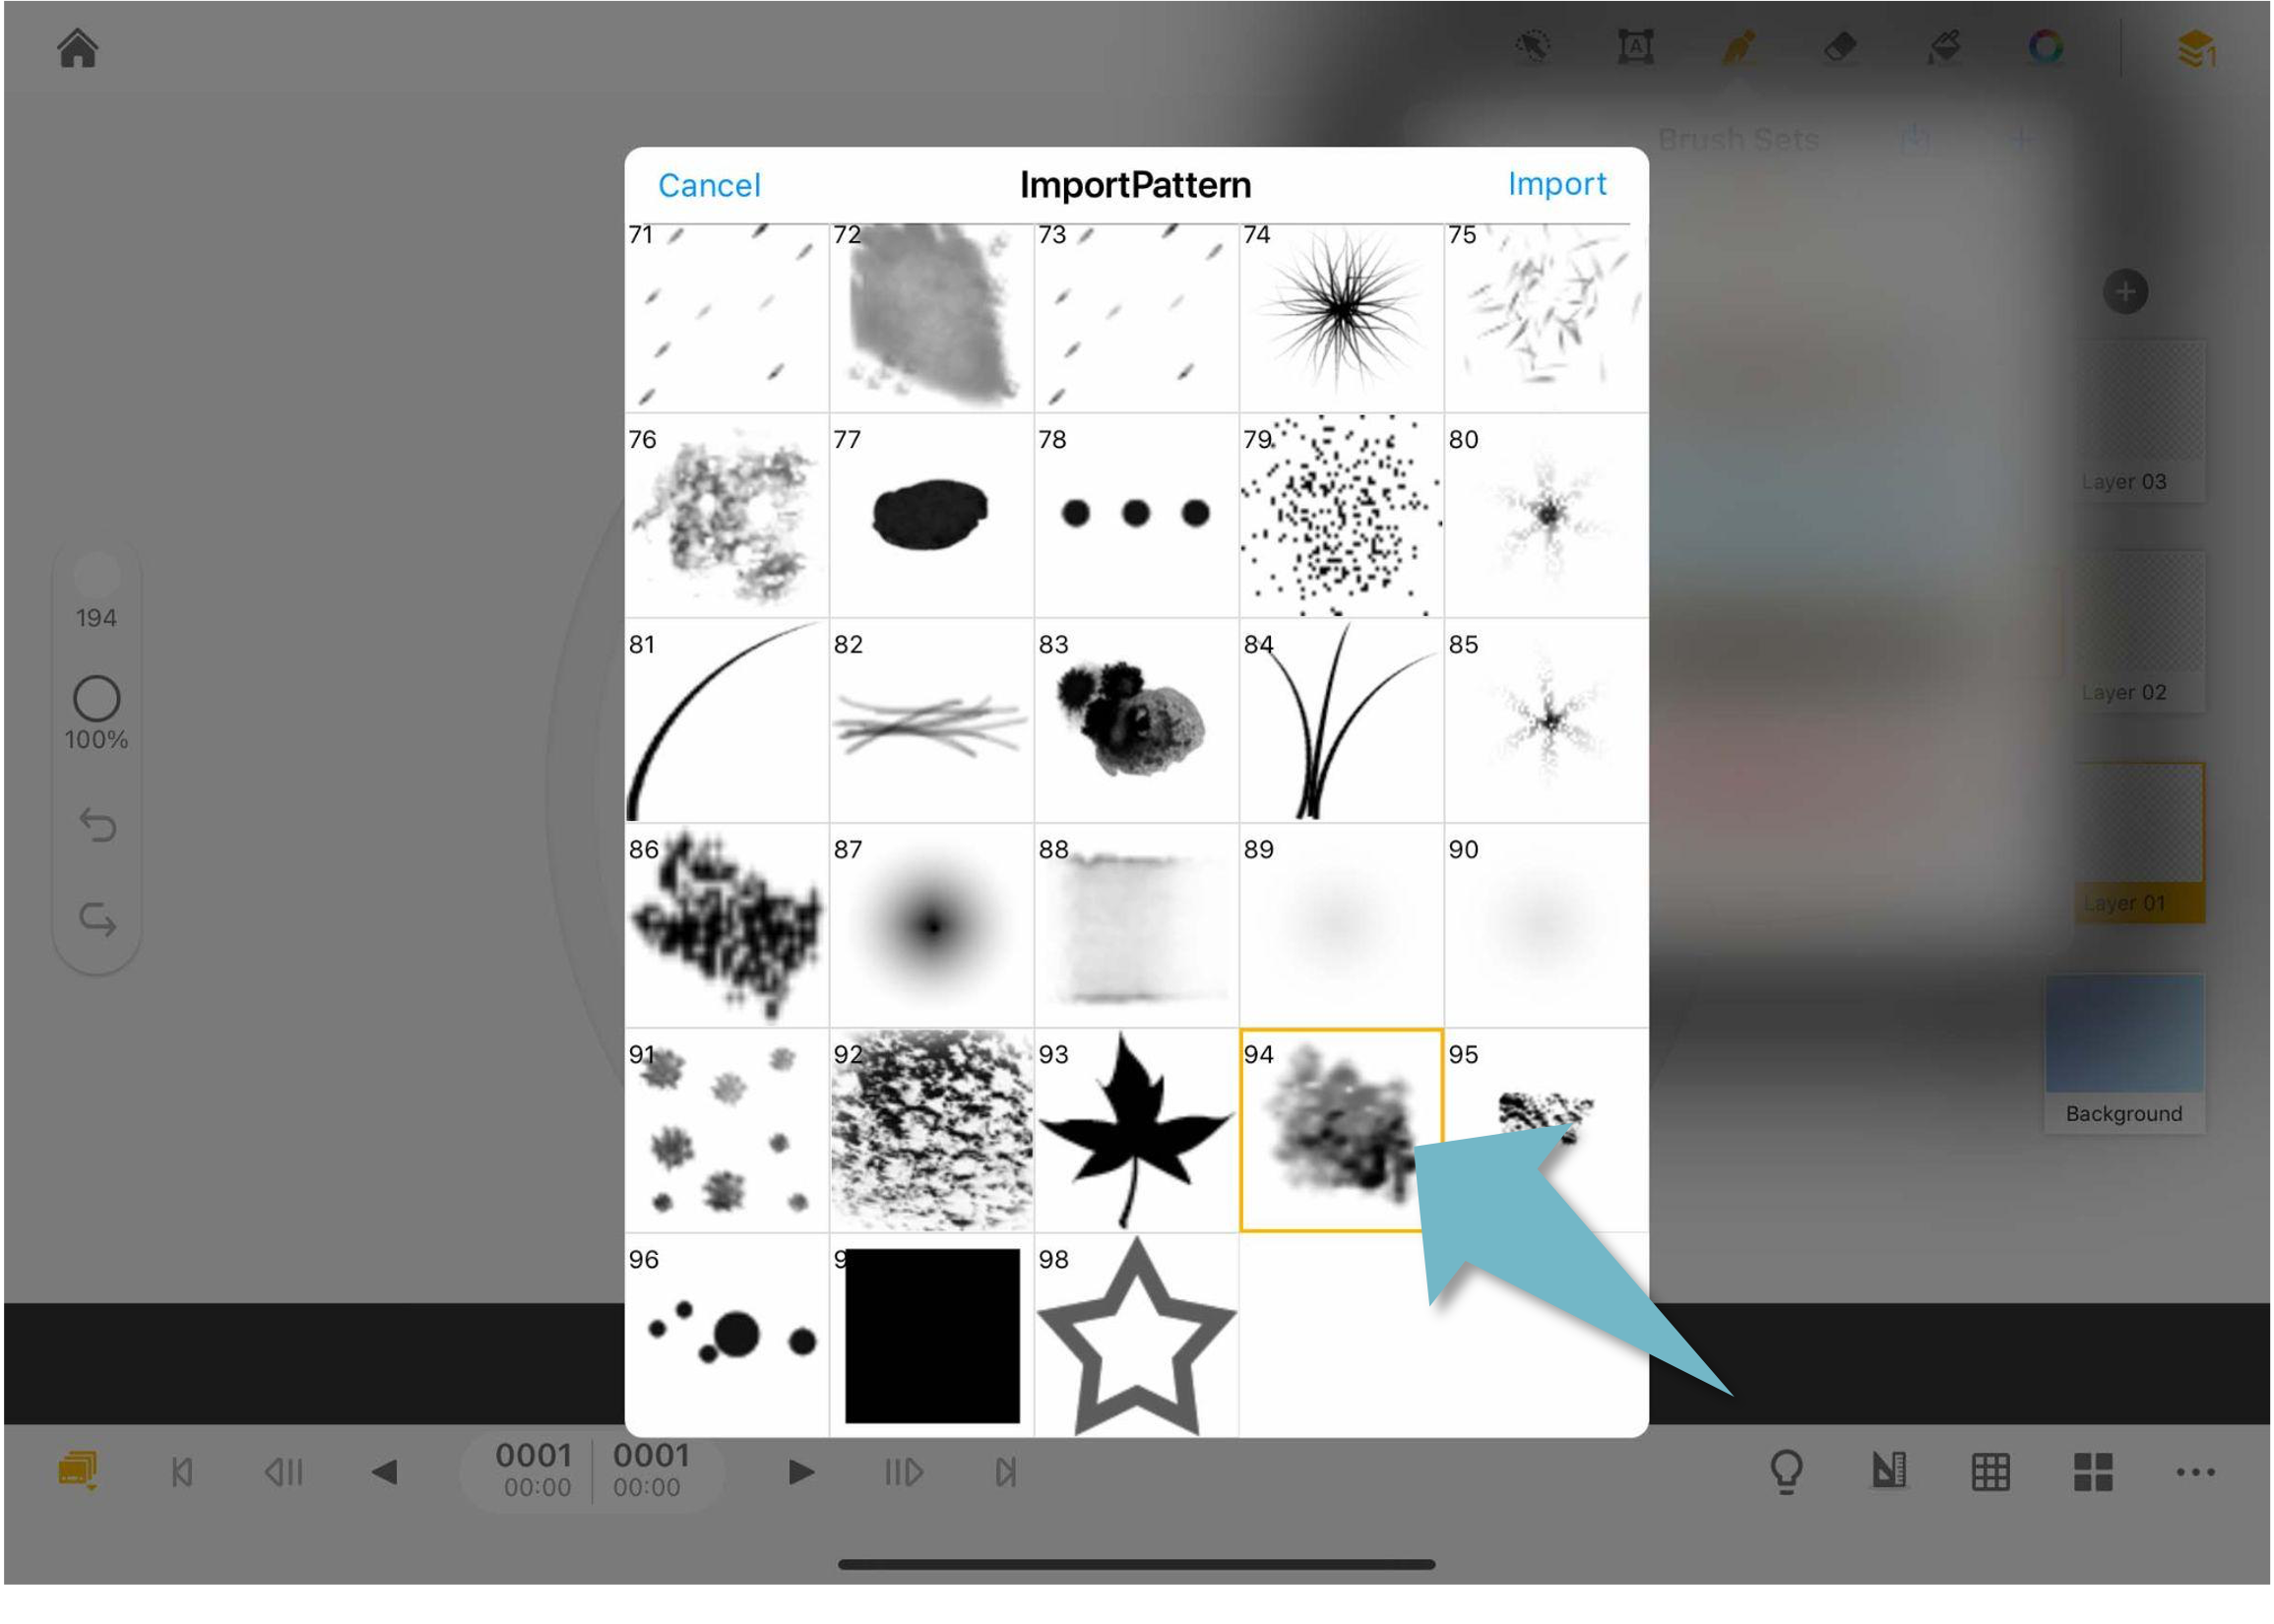
02. Select "Pattern #94"
03. In the "Stroke Path" tab, adjust the value of "Angle Jitter" to 90% or higher. This would increase the variance of the pattern jittering angle.
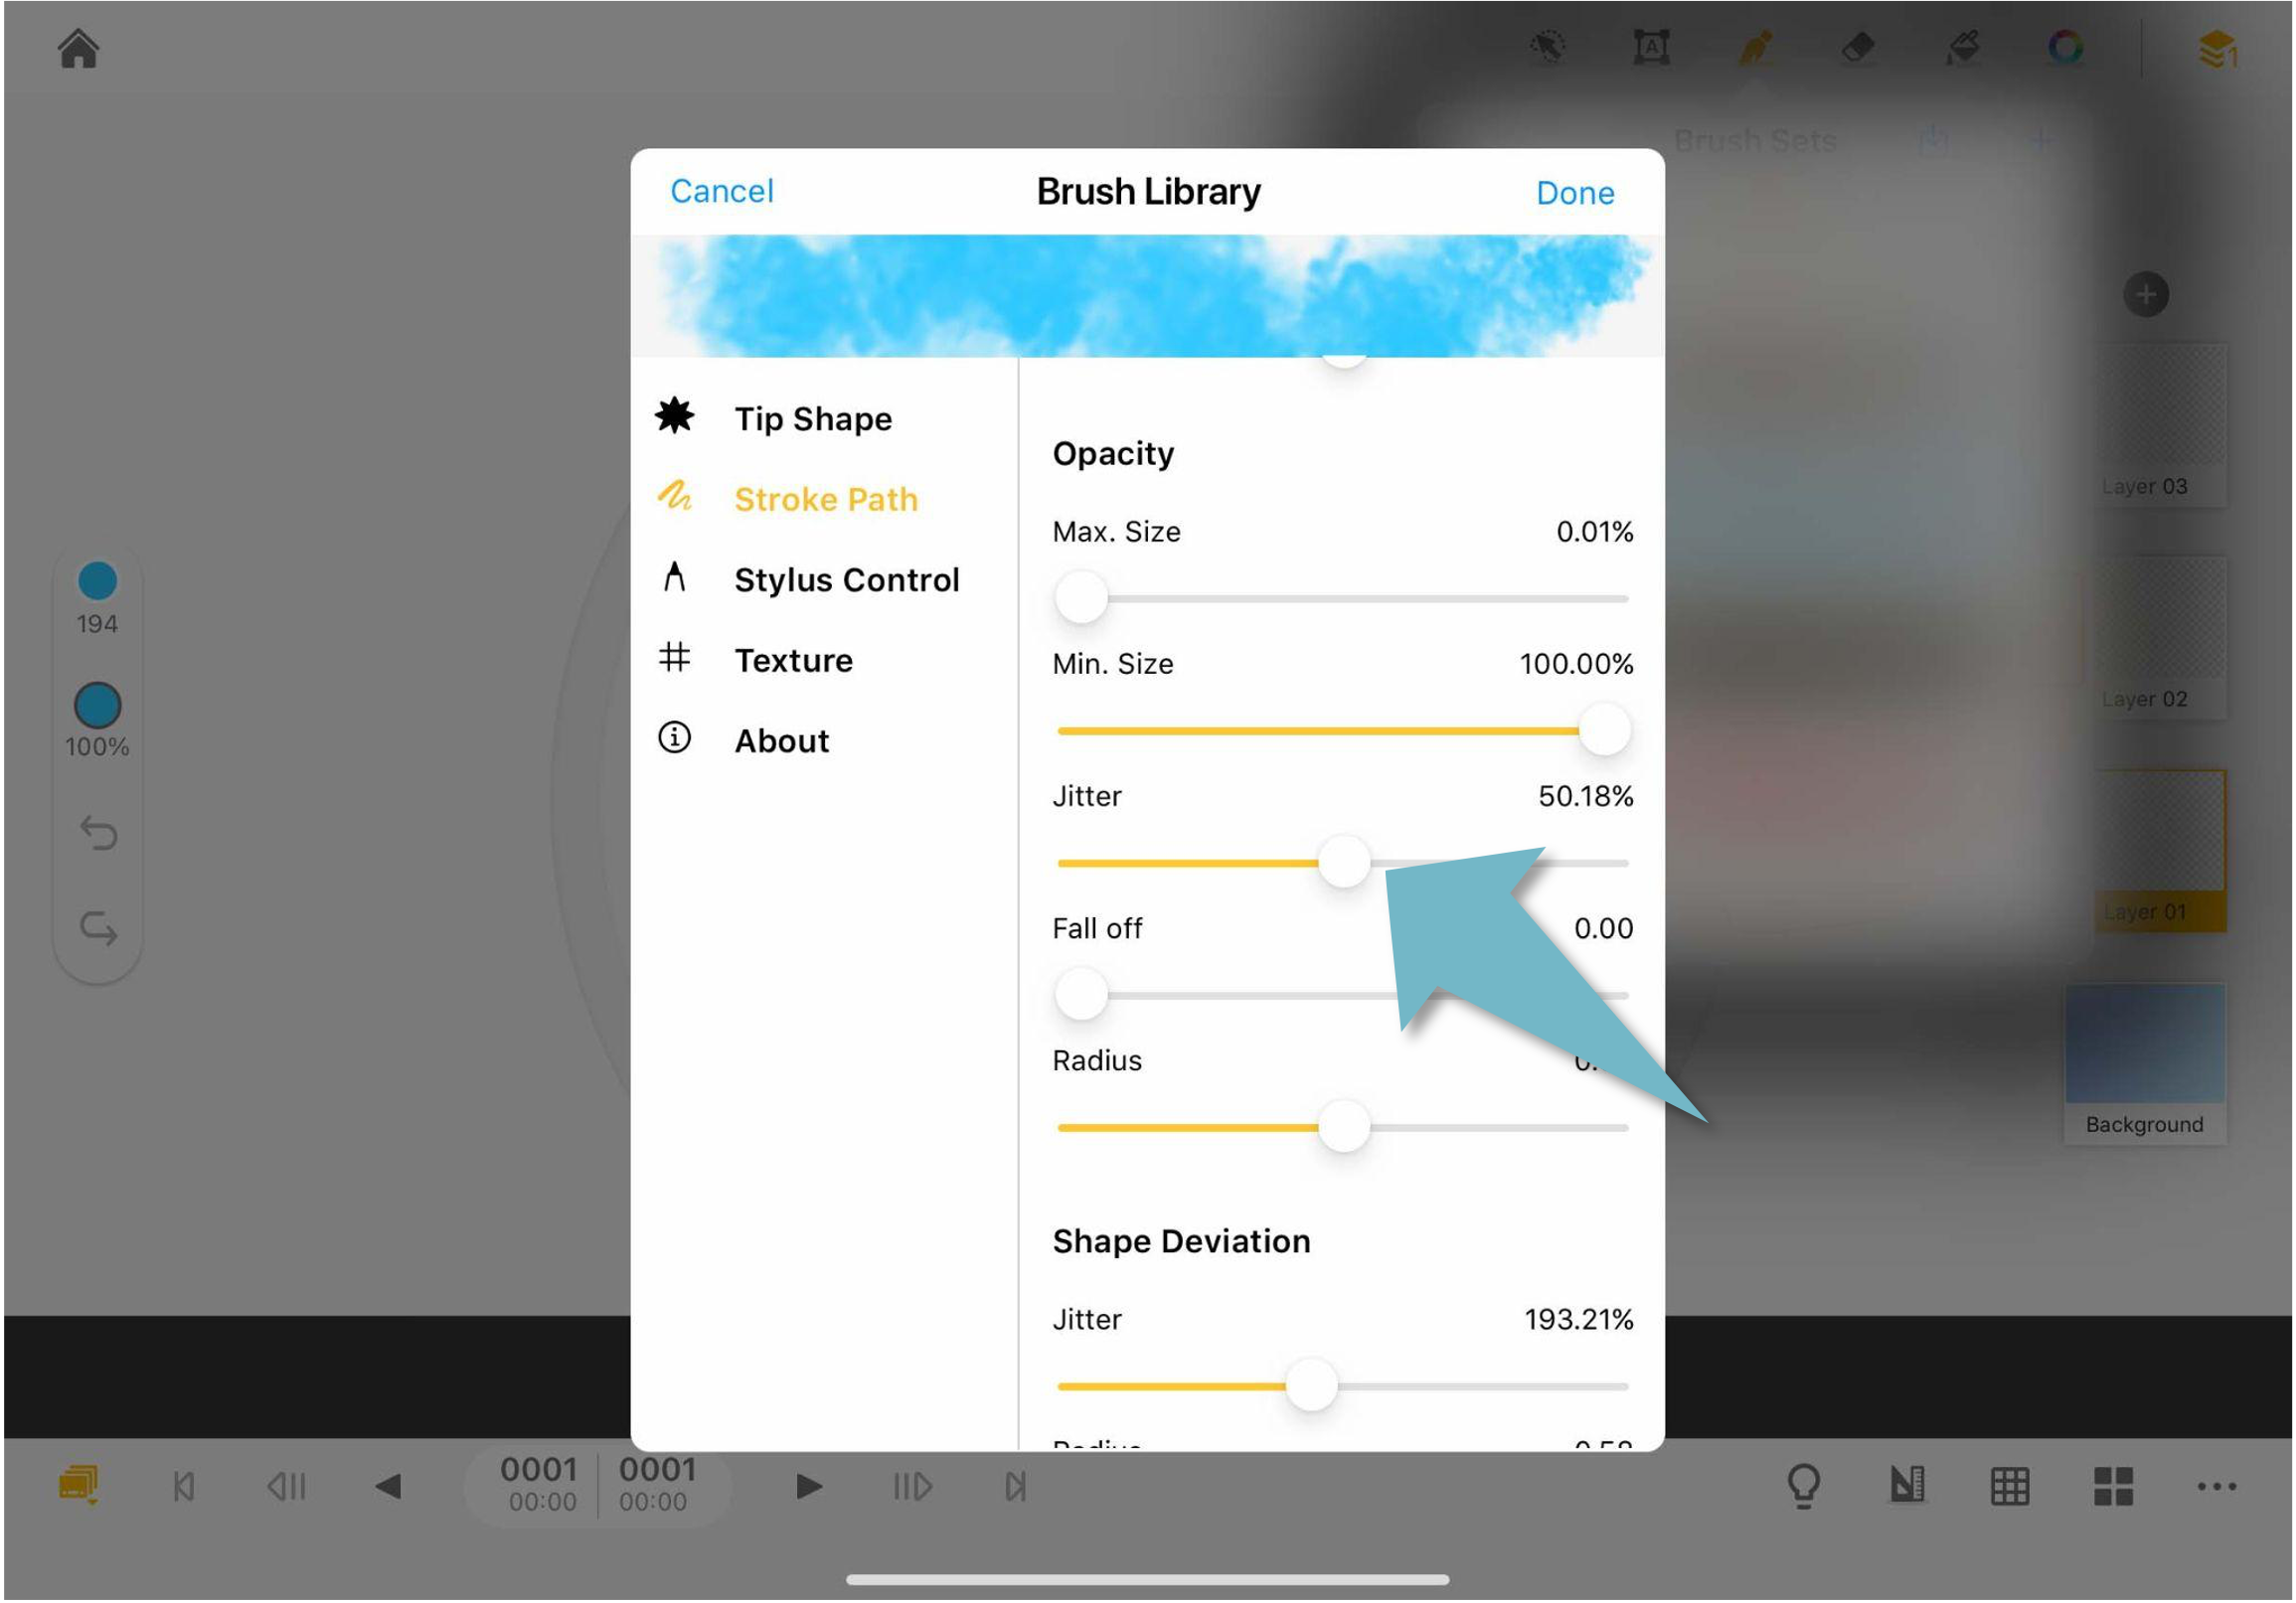
04. In the same tab, adjust the "Jitter" value under the "Opacity section" to 50%. This will give the color more layers and depth.
05. In the "Tip Shape" tab, increase the value of "Spacing".
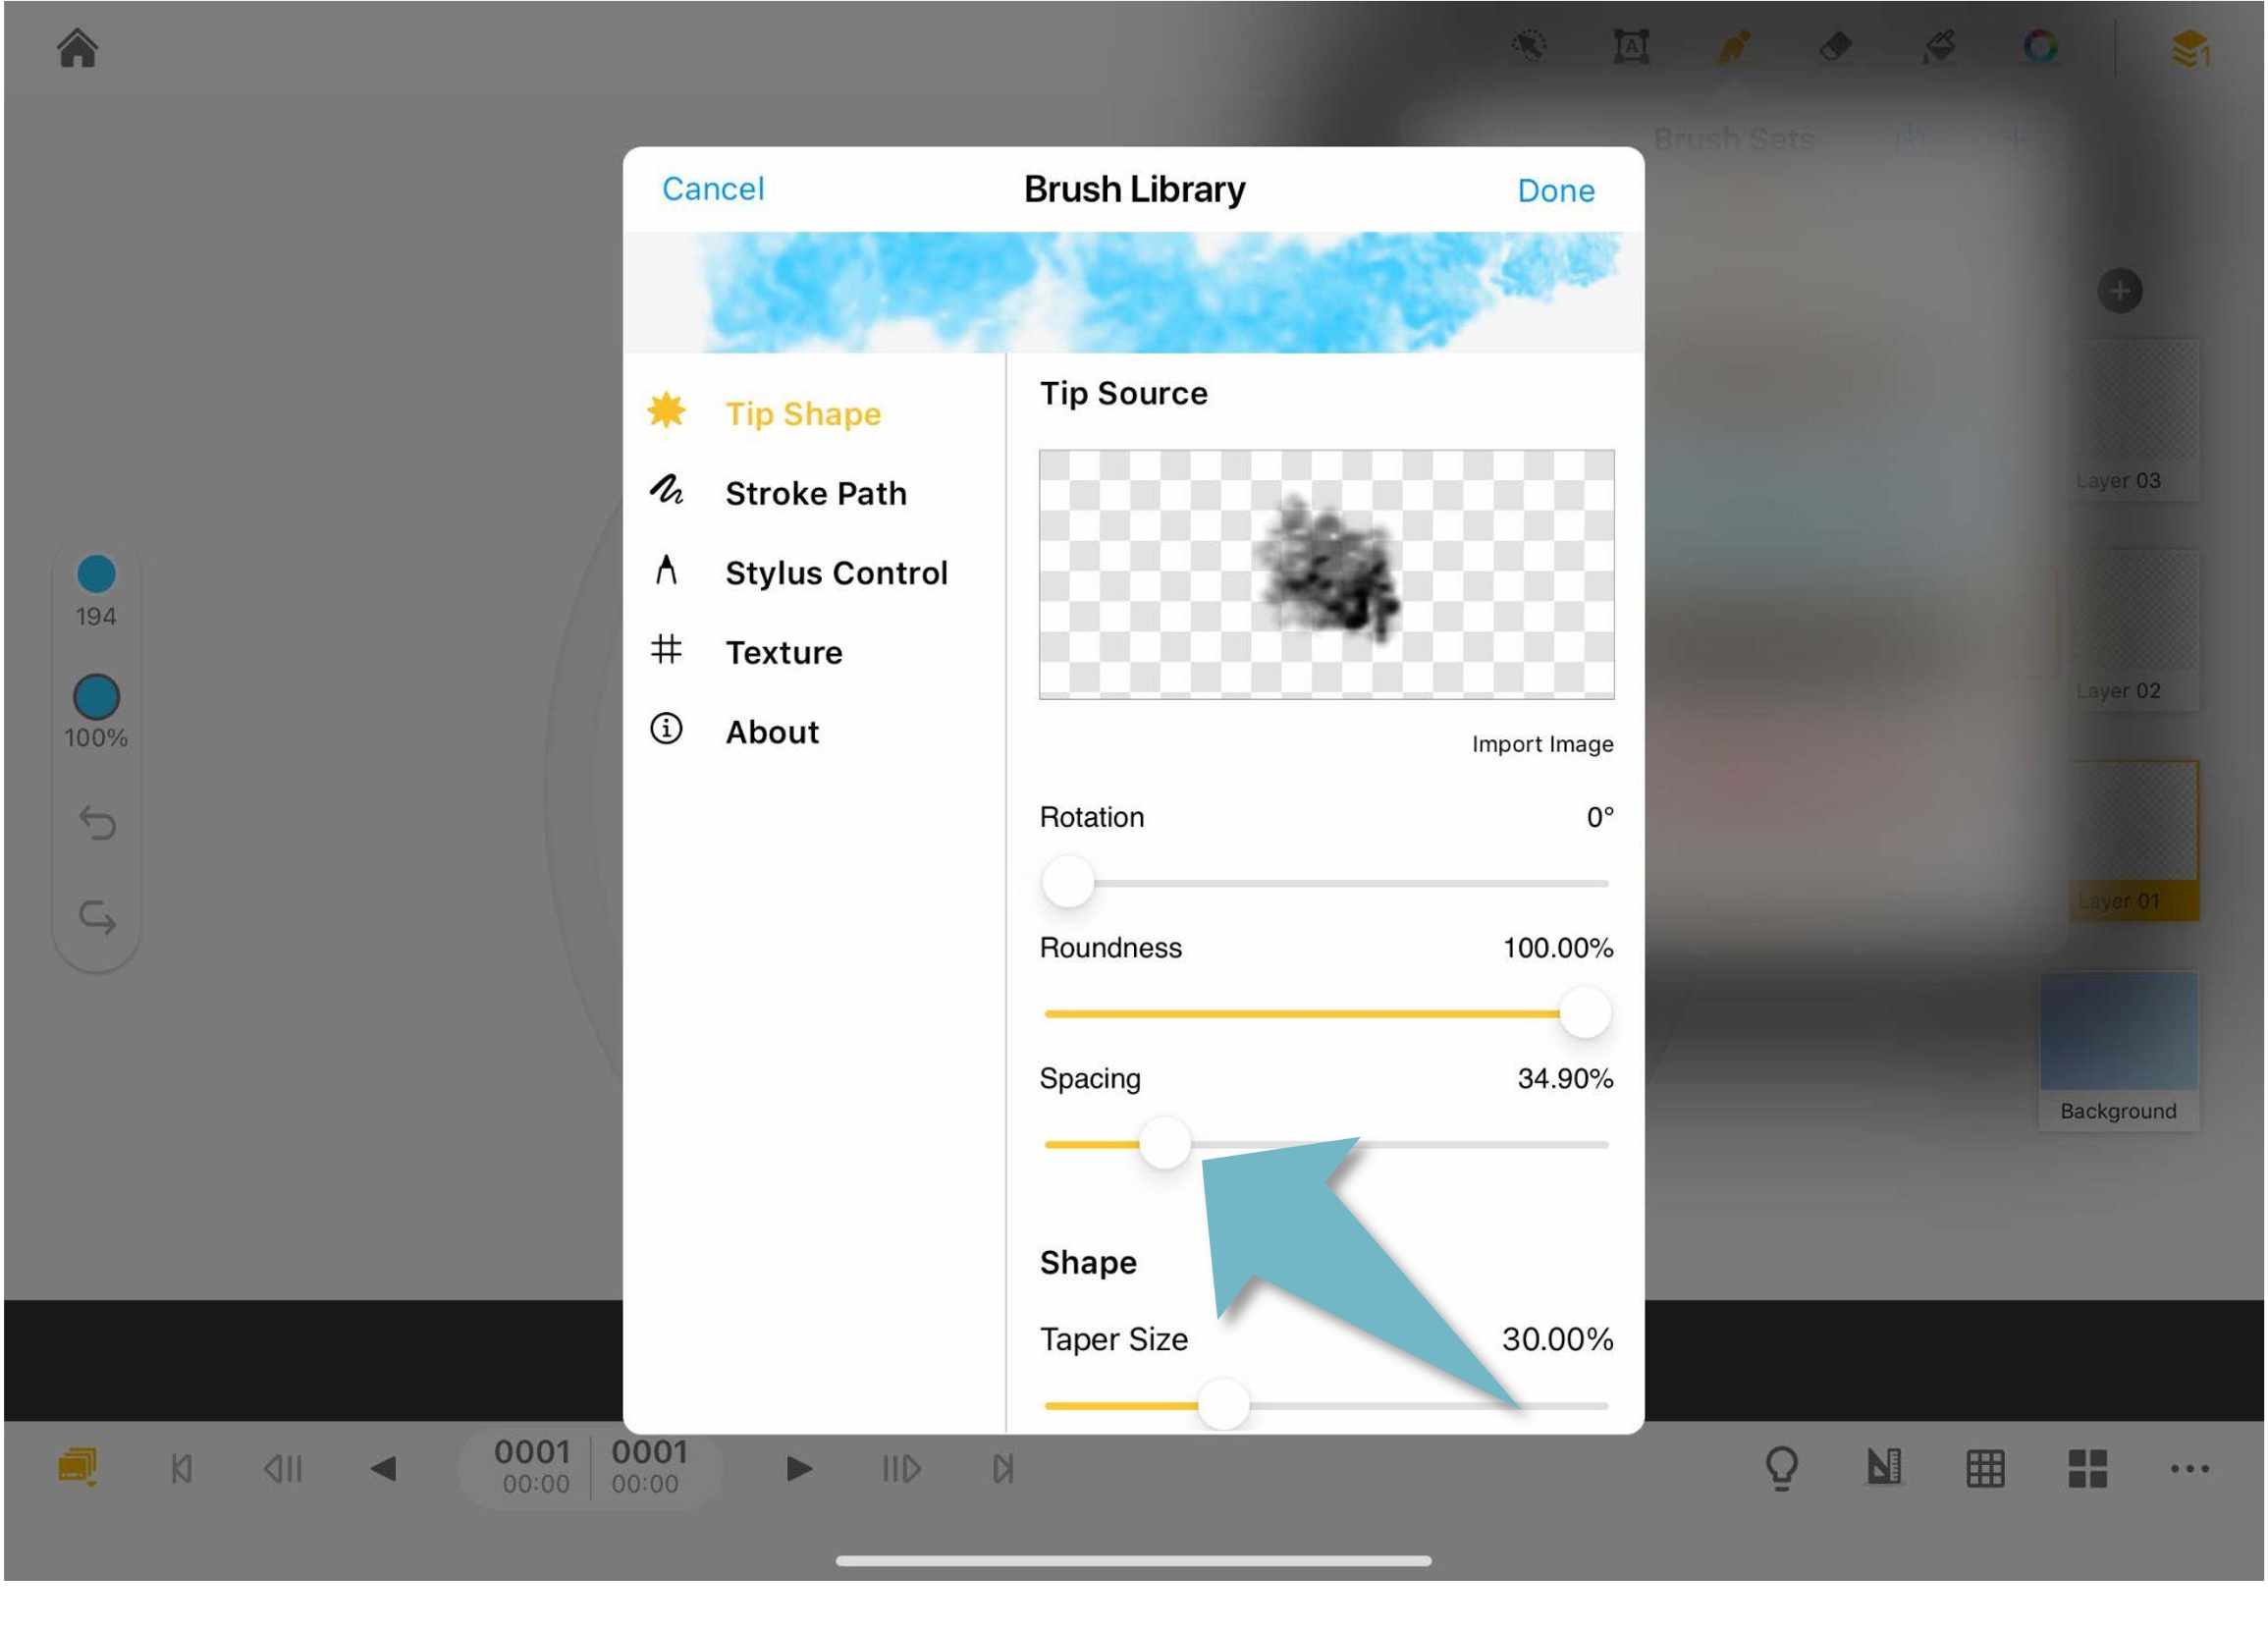
06. After you are all set, go back to the canvas. Tap the brush opacity settings, and increase the opacity.
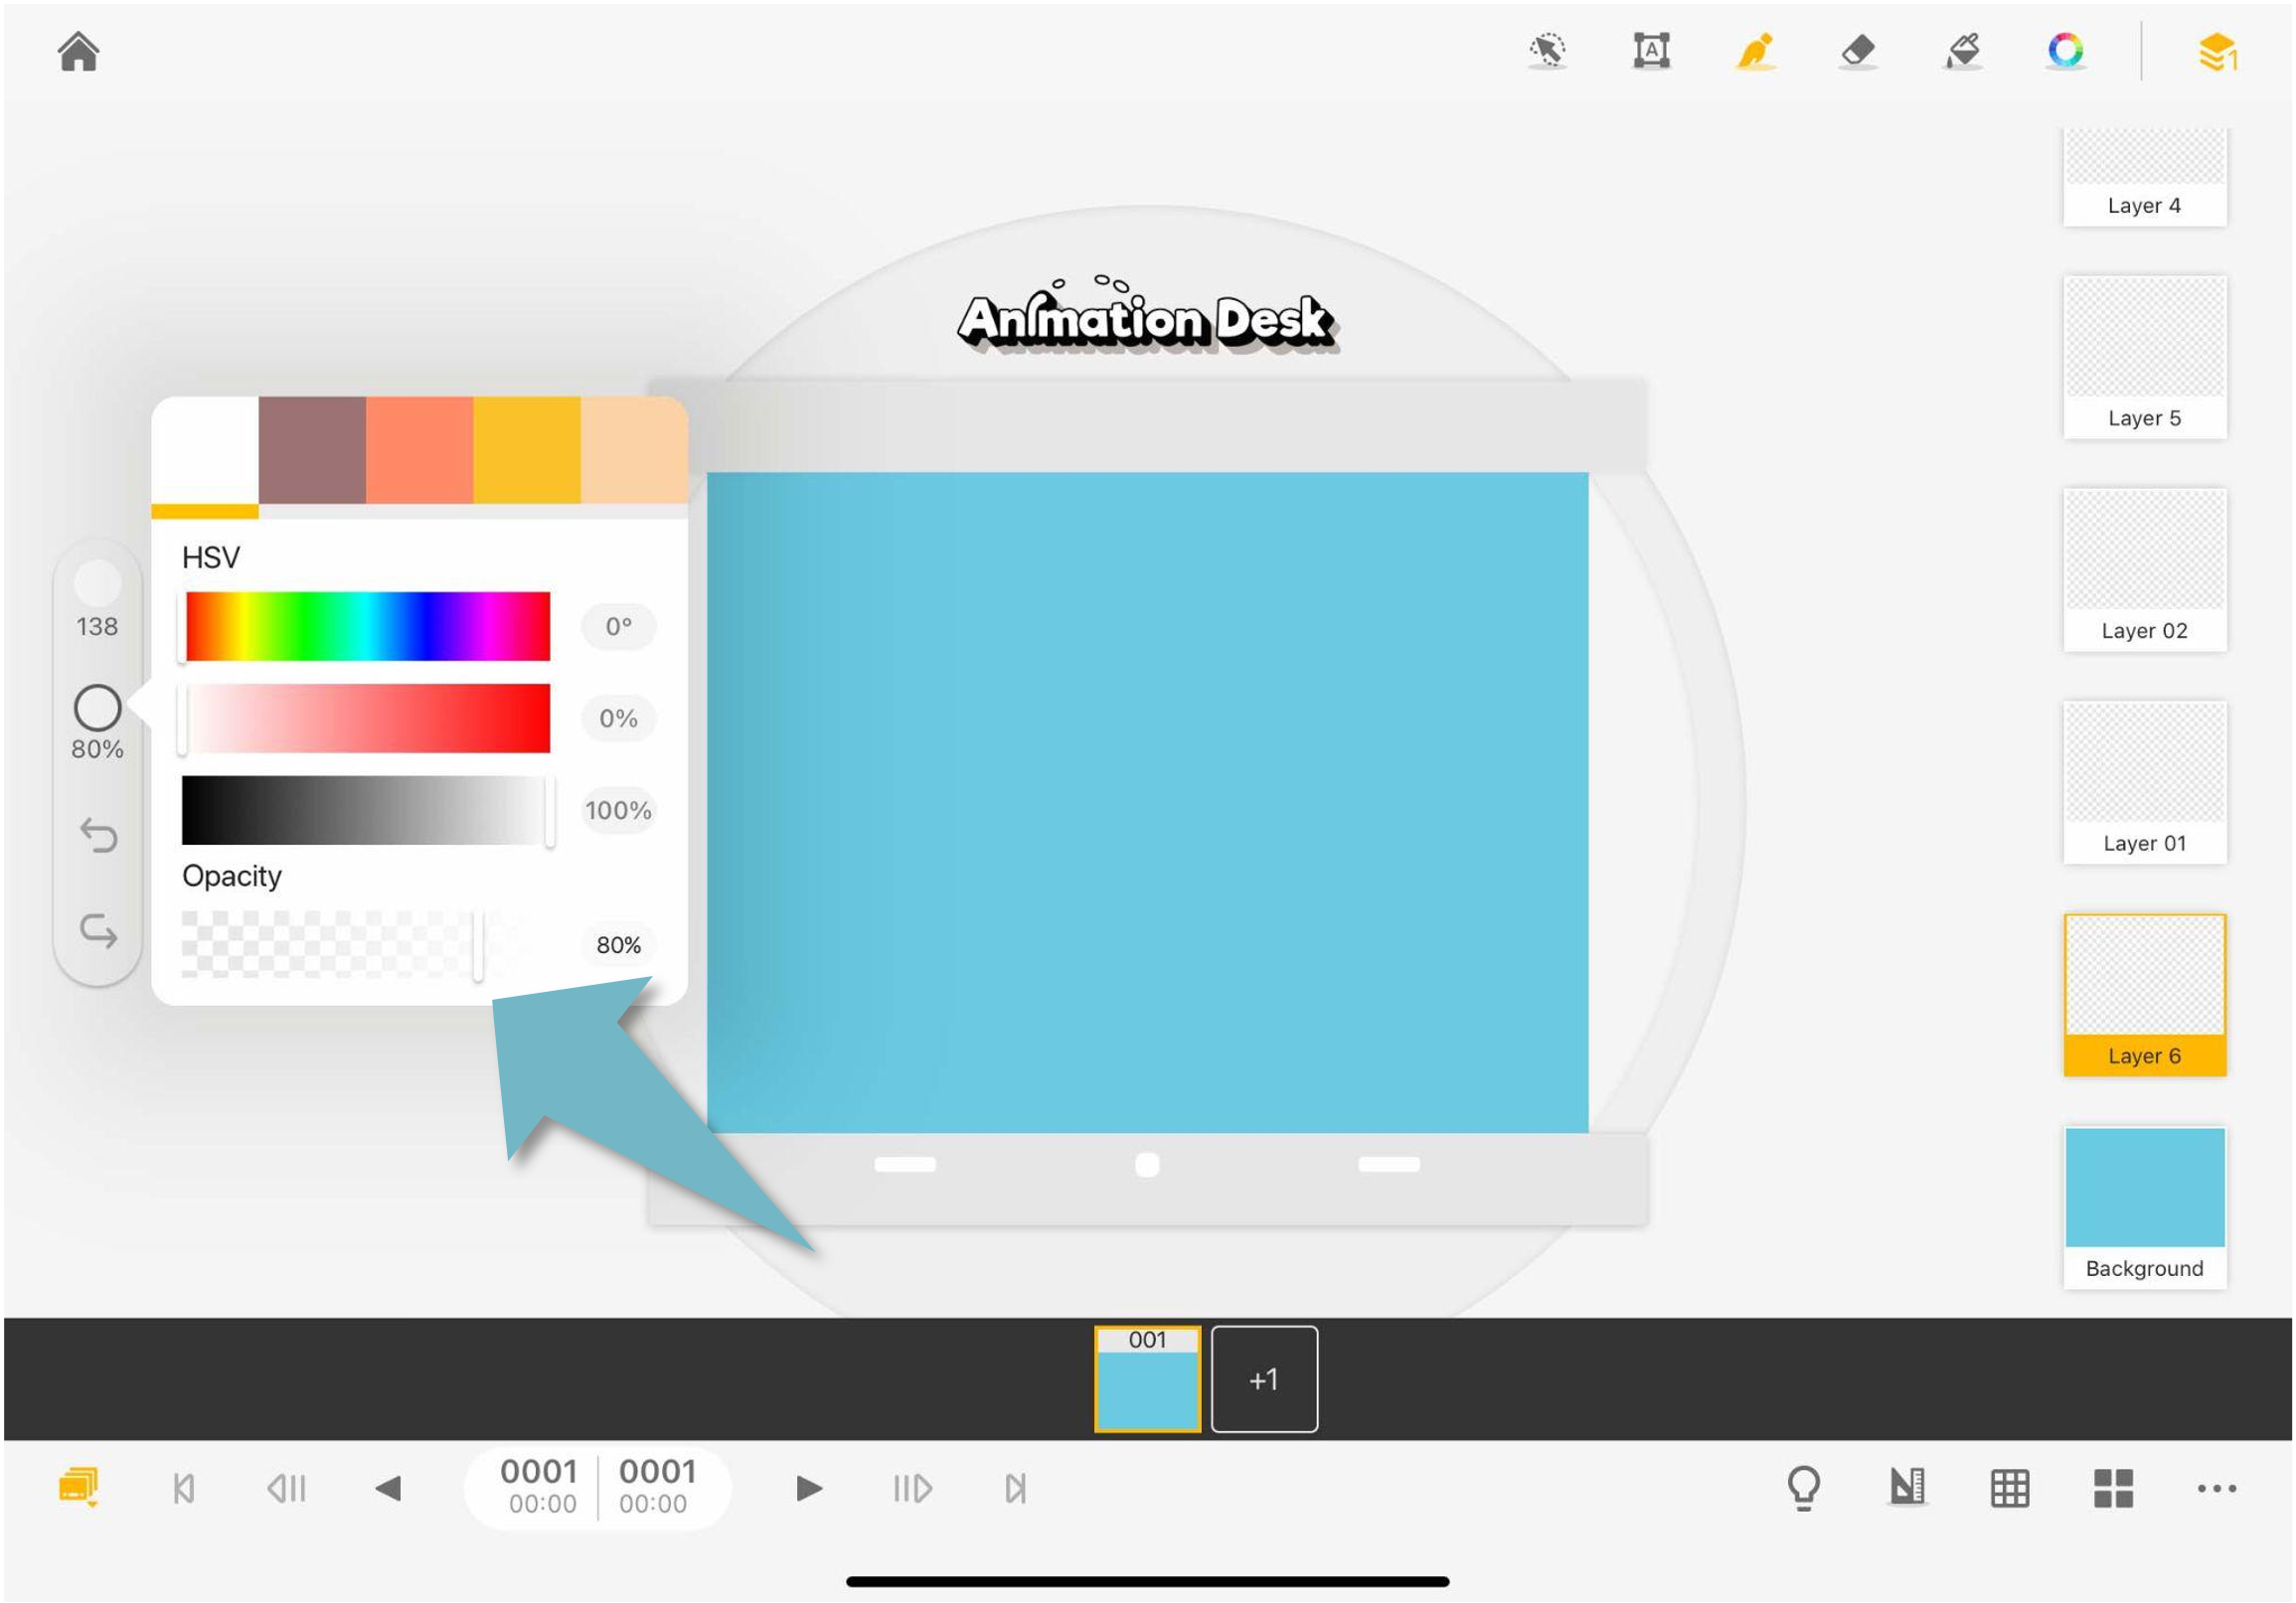
07. One by one, draw the different parts of the cloud to create the fluttering cloud.
Updated
Comments
0 comments
Please sign in to leave a comment.