NoteLedge is optimized with Apple Pencil's pressure sensitivity, palm rejection and shortcut button (for the 2nd generation) features. Here are some tips for you to make the best of NoteLedge's brush tools with your Apple Pencil. To learn how to connect your iPad to a stylus (Apple Pencil, Wacom, Adonit, etc.), click here.
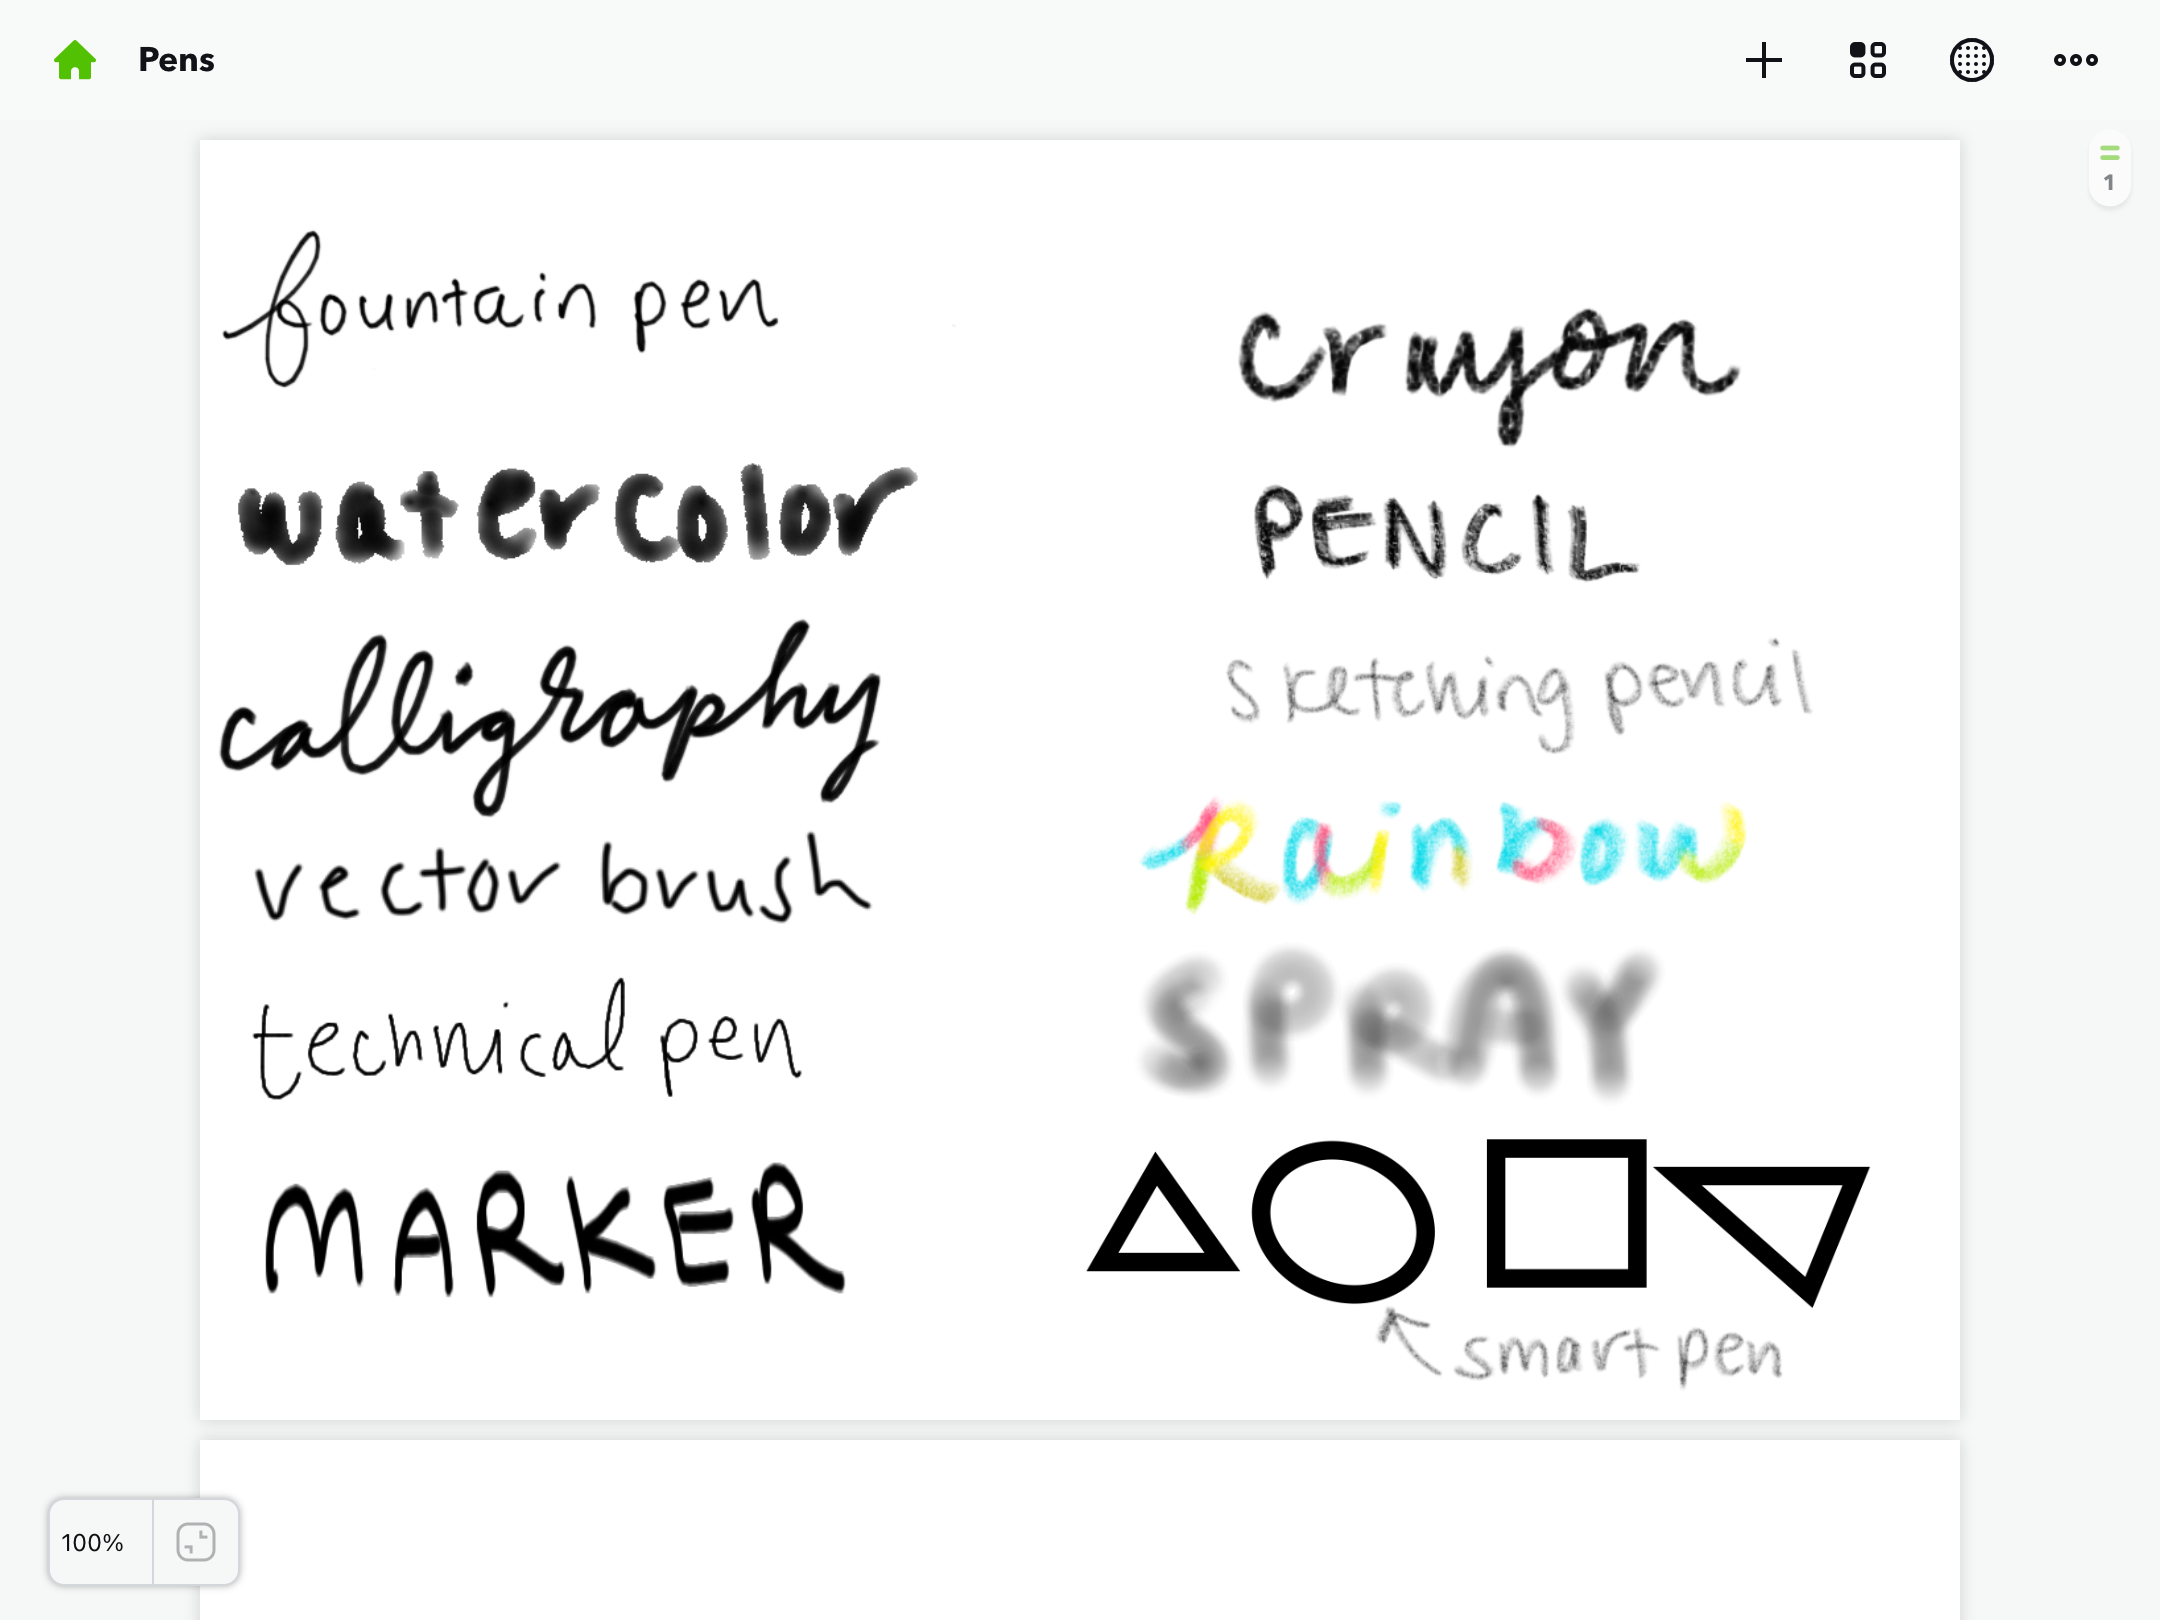
First, select brushes based on your needs. Set up color, opacity and brush size (find out how here).
Take Notes and Add Annotations
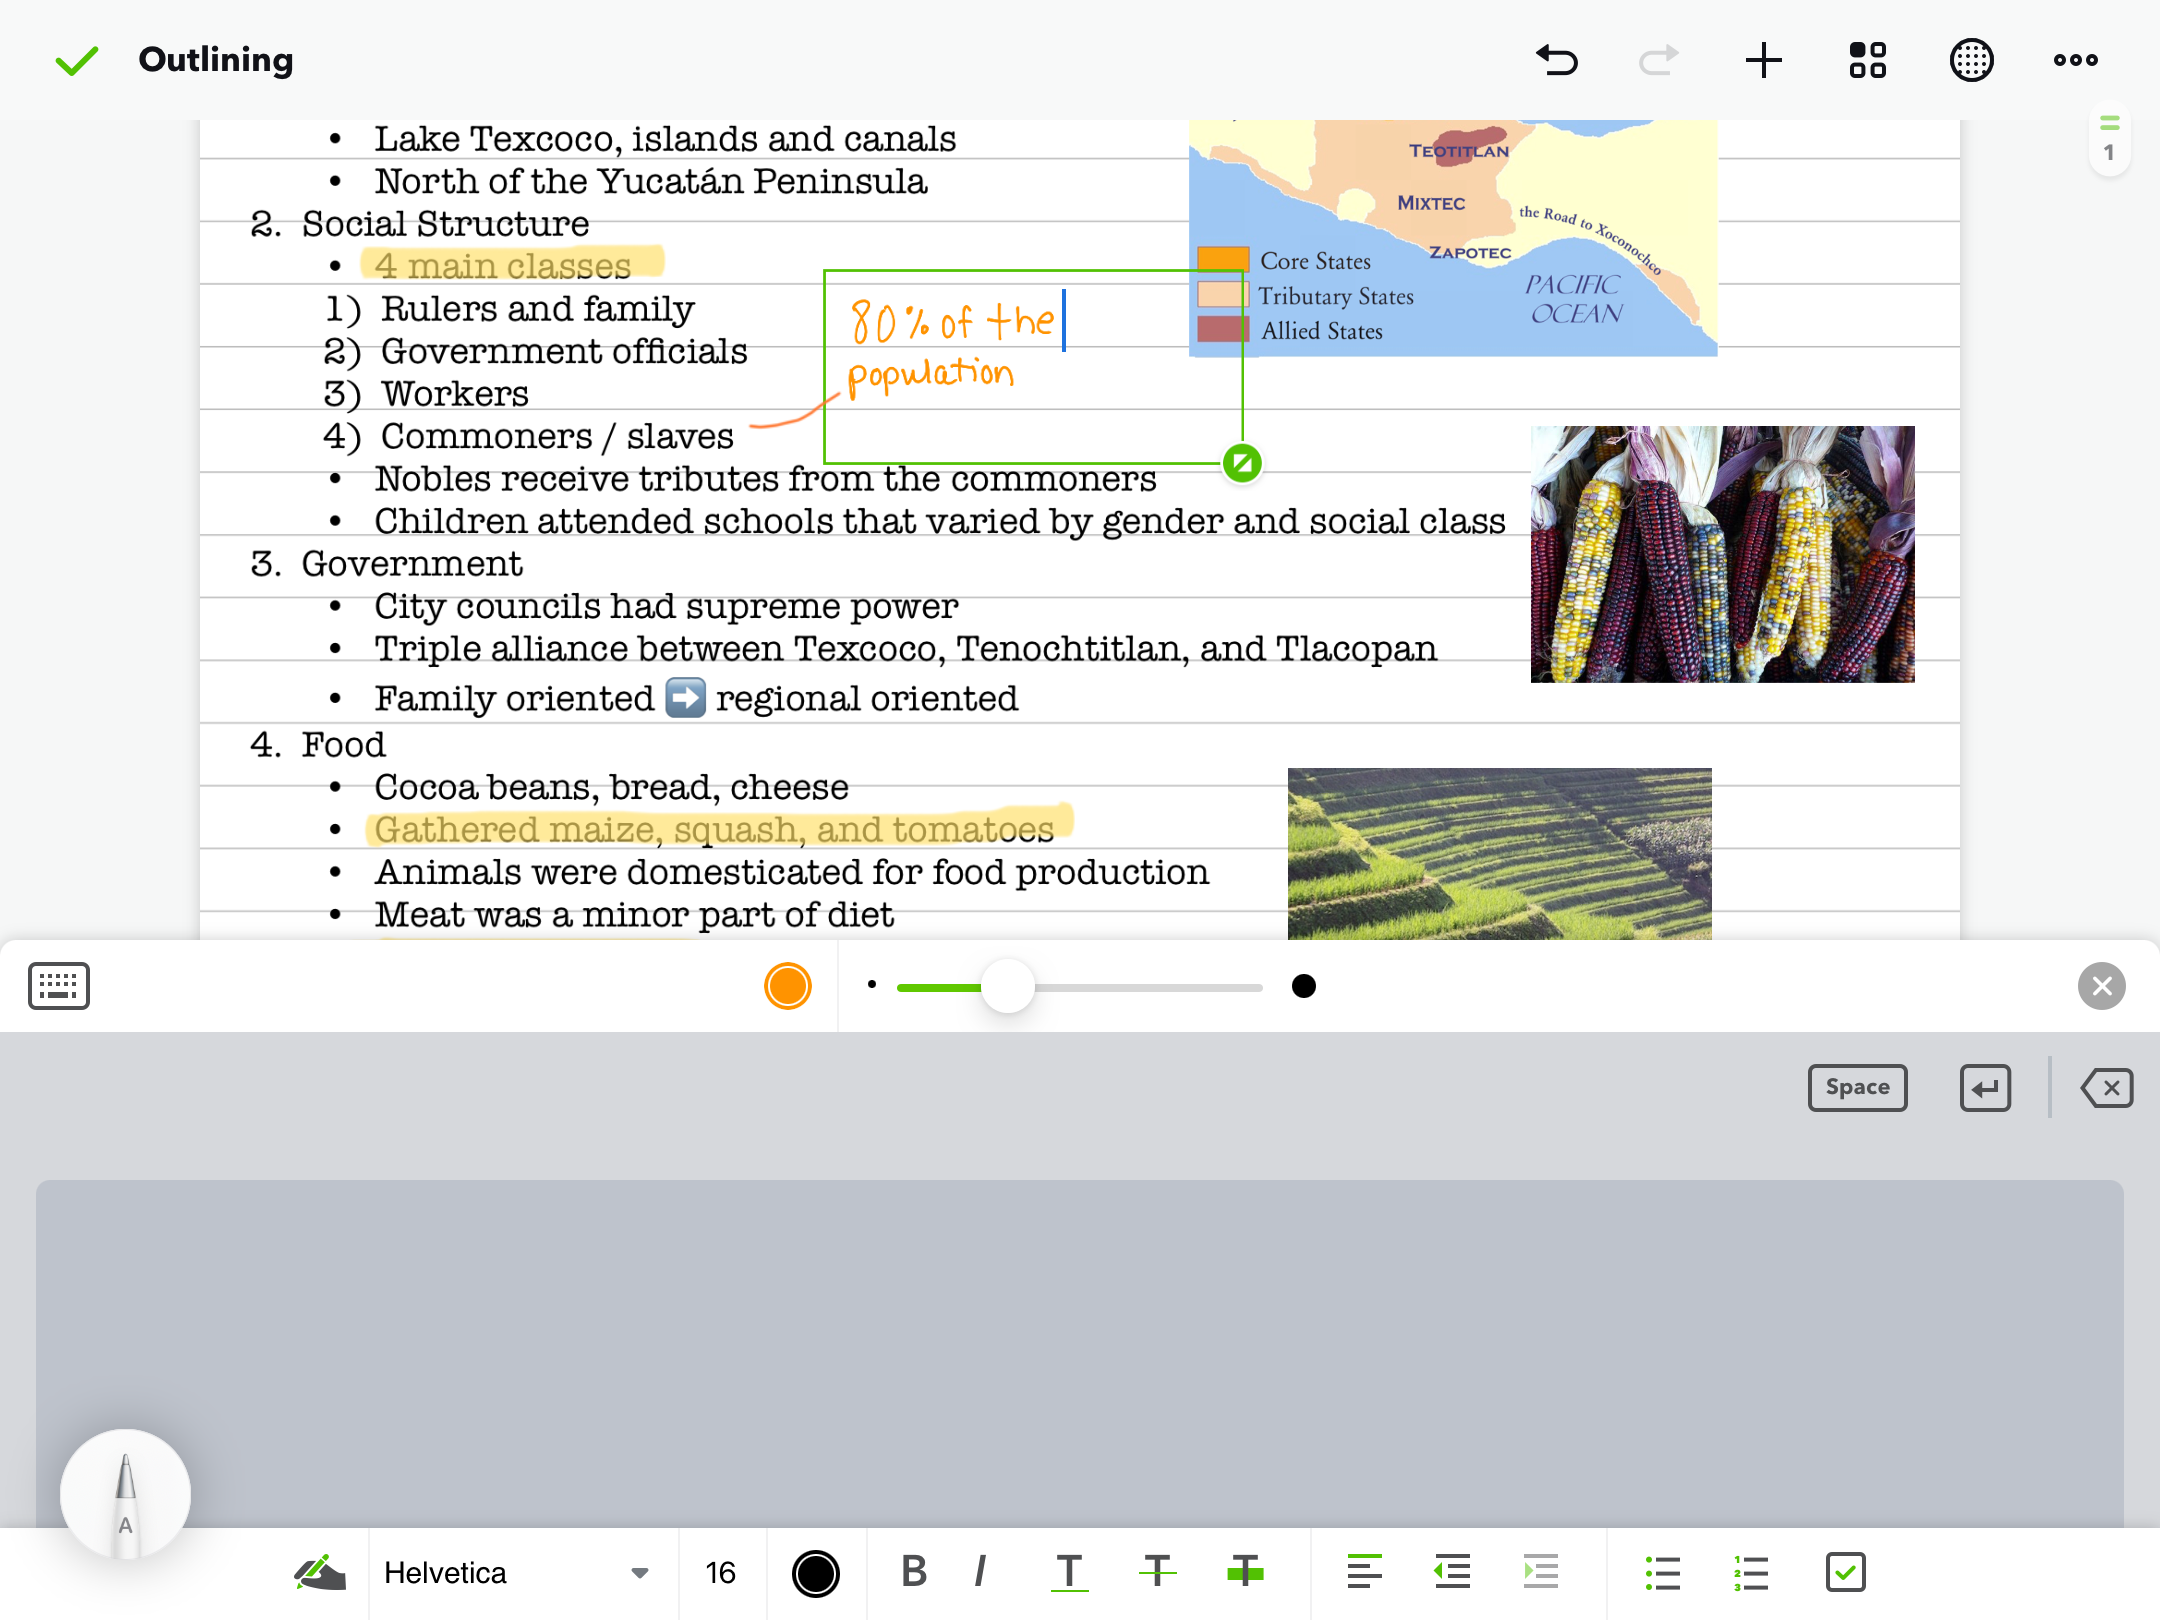
Insert images and add annotations with handwritings. We recommend using the fountain pen for writing as it resembles a real pen. Highlight important items with the marker. Add a fun, colorful flair with the rainbow pencil. You may change the opacity to make the highlights standout without blocking the original texts.

Sketch & Draw
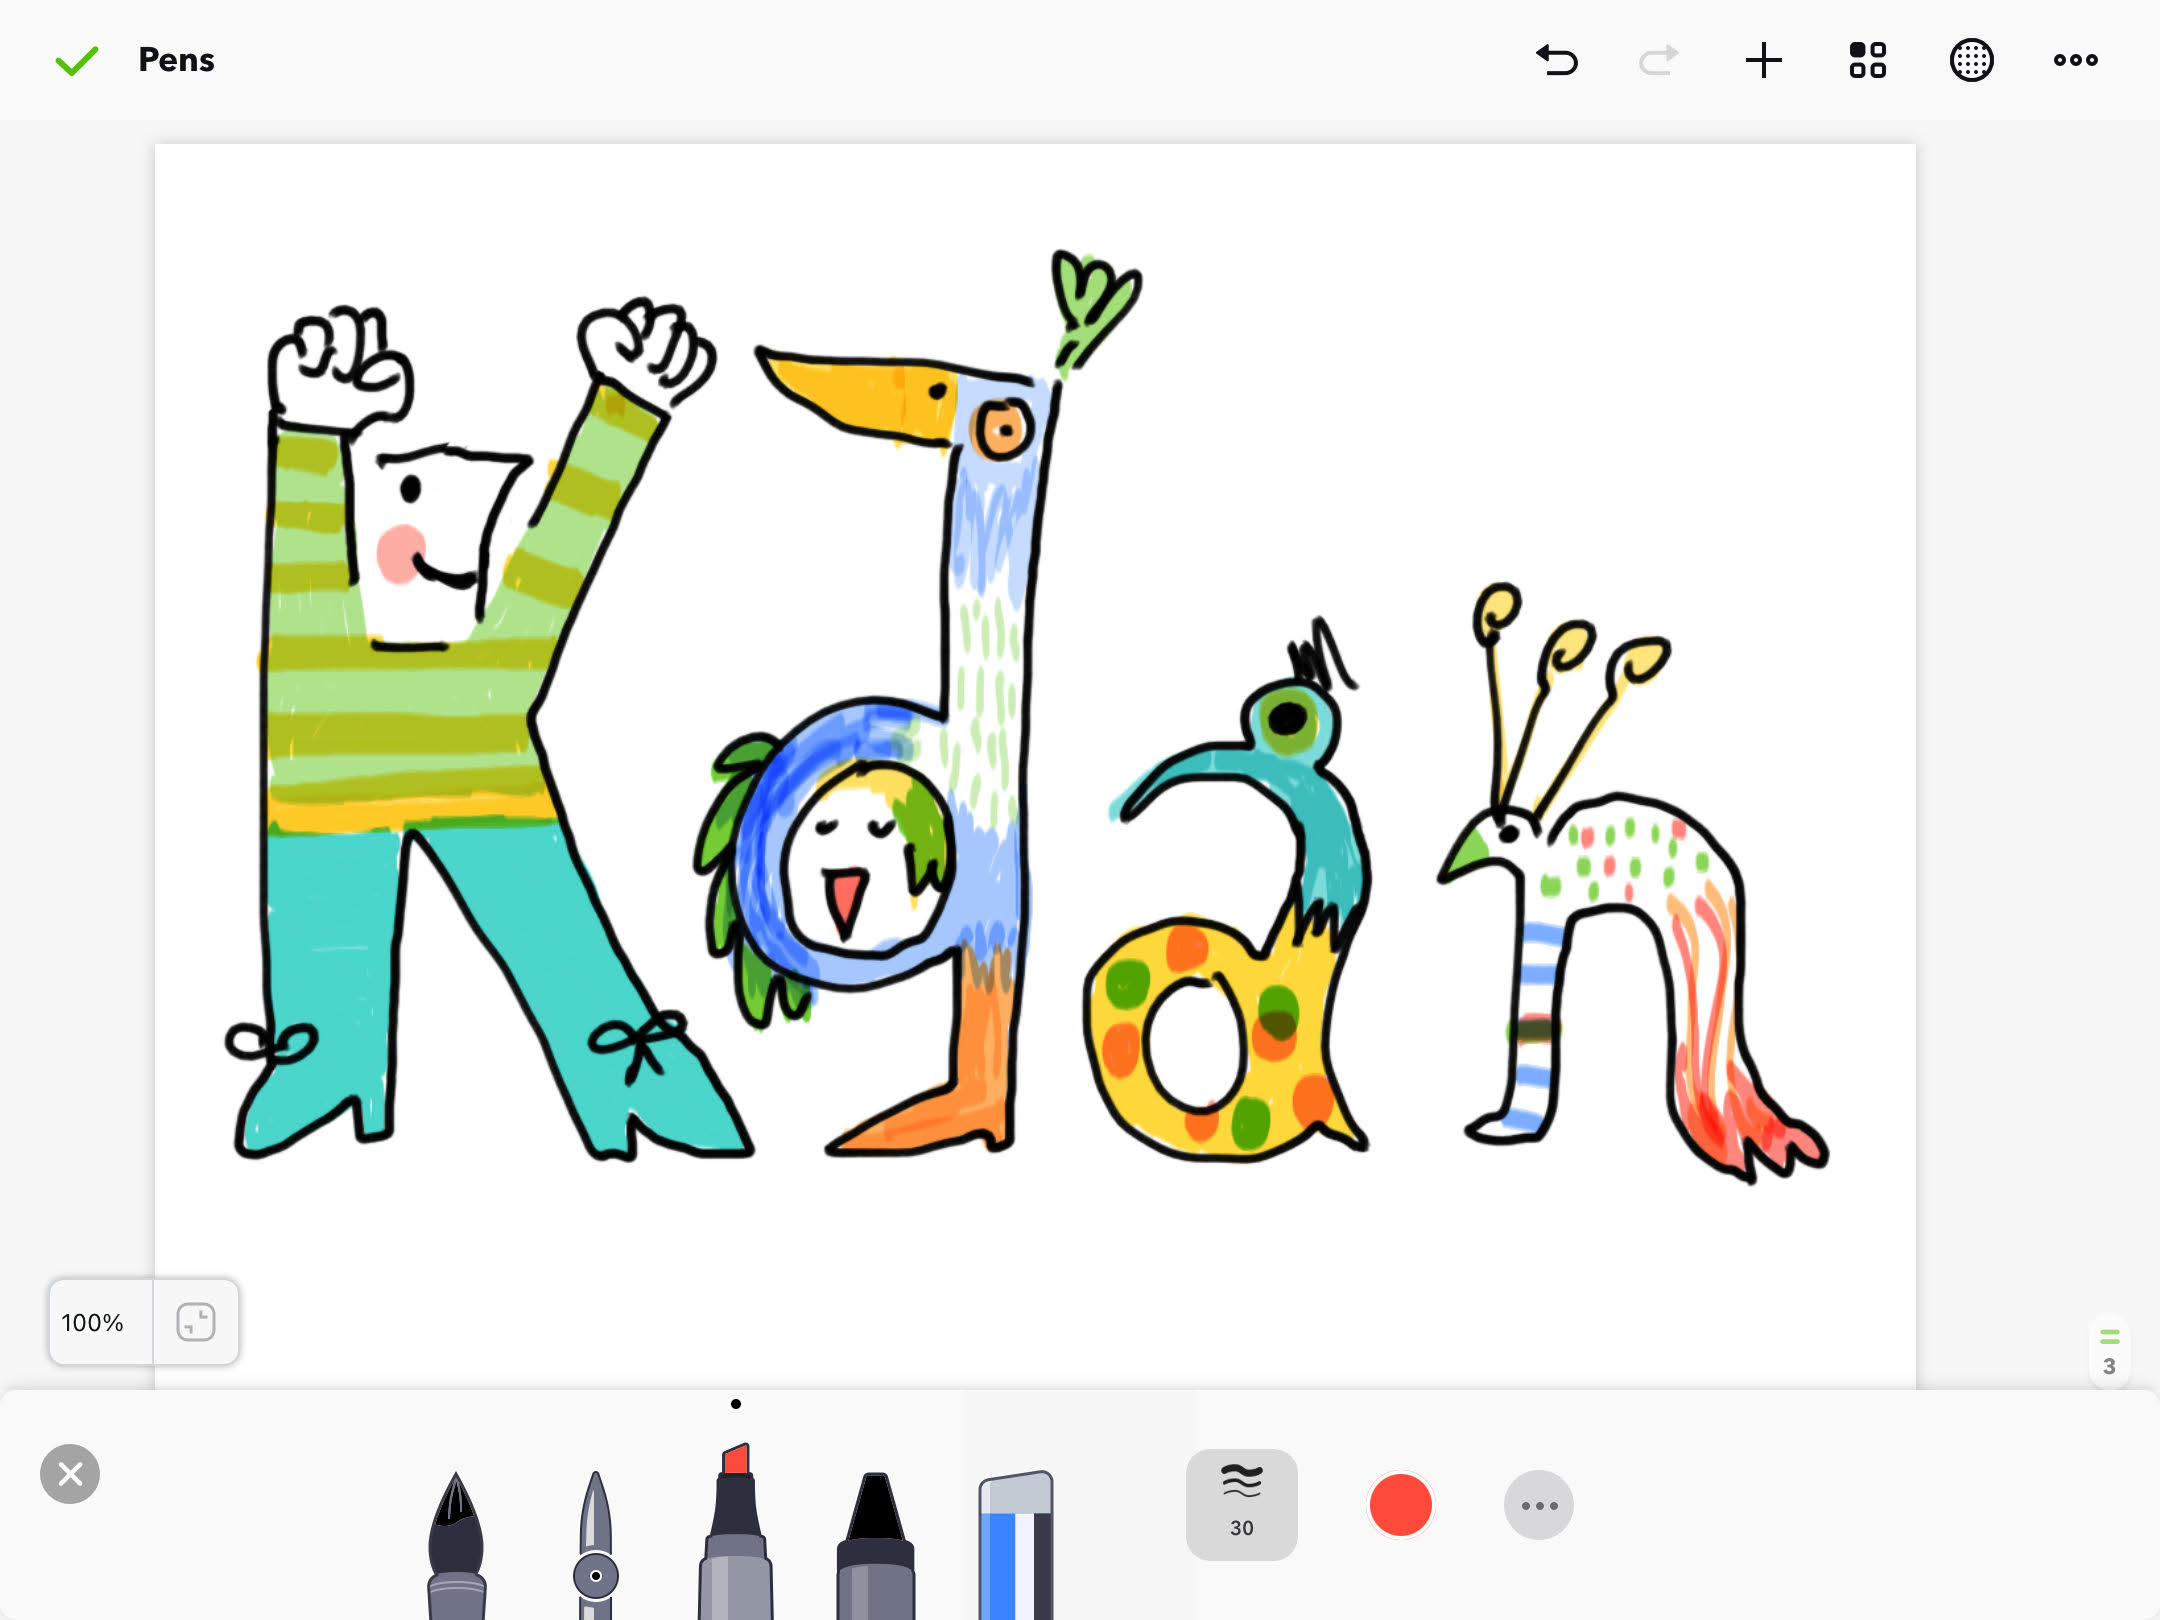
The pencil, sketching pencil, crayon, marker and watercolor brush are recommended for sketching, drawing and coloring. These brushes are fine tuned with Apple Pencil's tilt and pressure sensitivity effects that give you a natural drawing experience.
Draw Shapes
With the Smart Pen, you can easily draw shapes including straight lines, arrows, triangles, rectangles, and circles.
Handwriting
In addition to the brushes, NoteLedge comes with a handwriting tool for you to write with a zoom box and edit handwritten texts more efficiently. Check out the handwriting tool tutorial to learn more!
Shortcut Button for Apple Pencil 2nd Generation
For Apple Pencil 2, you can double tap the shortcut button to quickly switch between drawing and eraser mode.
Do you find the Apple Pencil tips useful? Download NoteLedge and try it out!
Updated
Comments
0 comments
Article is closed for comments.